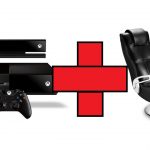
To connect an X Rocker to a Switch, use an audio adapter cable with a 3.5mm jack on both ends. First, plug one end of the cable into the headphone jack on the Switch, then connect the other end to the audio input on the X Rocker.
Once connected, adjust the audio settings on the Switch to output sound through the headphone jack. This will enable the audio from the Switch to play through the X Rocker, allowing for an immersive gaming experience. Gaming enthusiasts often seek ways to enhance their experience by connecting their X Rocker gaming chair to various consoles.
Many player enjoy the convenience and comfort provided by X Rocker chairs during extended gaming sessions. In this guide, we will discuss how to connect an X Rocker gaming chair to a Nintendo Switch, allowing you to enjoy an amplified audio experience while playing your favorite games. By following the steps outlined below, you can easily connect your X Rocker to a Switch, bringing your gaming experience to a whole new level.
Understanding X Rocker
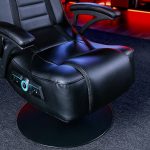
X Rocker gaming chairs are designed to provide an immersive gaming experience. With built-in speakers and vibration motors, they enhance the audio and physical feedback of games. These chairs are compatible with various gaming consoles, including the Nintendo Switch. Players can connect their X Rocker to the Switch using the audio output jack or wireless adapter, depending on the model. The ergonomic design and adjustable features of X Rocker chairs offer comfort during long gaming sessions. Moreover, the wireless connectivity options eliminate the hassle of cords. Once connected, gamers can enjoy the benefits of the chair’s audio features while playing games on the Switch.

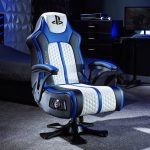
Credit: www.amazon.com
Getting Ready
Before you connect your X Rocker to your Nintendo Switch, make sure to gather all the necessary cables and power sources. Check the compatibility of your X Rocker with the Switch and ensure you have the correct adapters if needed.
To set up the X Rocker, first, connect the audio output from the Nintendo Switch to the input on the X Rocker using the appropriate cables. Then, connect the X Rocker to a power source and turn it on. Adjust the volume and settings as desired for an optimal gaming experience.
Prior to connecting the X Rocker, ensure that the audio settings on your Nintendo Switch are configured to output sound through the appropriate connections. This may involve adjusting the audio settings within the Switch’s system menu to direct the audio output to the connected X Rocker.
Connecting The X Rocker To The Switch
To connect your X Rocker to the Switch, follow these steps:
| Wired Connection | Wireless Connection |
| 1. Connect X Rocker to Switch via audio cable. | 1. Ensure both X Rocker and Switch Bluetooth enabled. |
| 2. Adjust audio settings on the Switch. | 2. Put X Rocker in pairing mode. |
| 3. Test the connection by playing a game. | 3. Pair X Rocker with Switch using Bluetooth settings. |
Optimizing Your Gaming Experience
If you want to optimize your gaming experience, you need to know how to connect your X Rocker to the Switch. Adjusting the sound settings for your X Rocker is a crucial step to enhance gameplay. The X Rocker features can provide an immersive and engaging gaming environment. By connecting your X Rocker to the Switch, you can enjoy high-quality sound and an enhanced gaming experience. To adjust the sound settings, follow these steps:
- Make sure your X Rocker and the Switch are both powered on.
- Locate the audio output on your Switch and connect the provided audio cable from the X Rocker to the Switch.
- Access the settings menu on your Switch and navigate to the sound settings.
- Select the audio output option and choose the X Rocker as your preferred audio device.
- Adjust the volume and any additional sound settings to your liking.
With the sound settings optimized for your X Rocker, you can enjoy crystal-clear audio while gaming on your Switch. Take full advantage of the X Rocker features to enhance your gameplay experience and immerse yourself in the virtual world.
Troubleshooting Tips
Troubleshooting Tips for connecting your X Rocker to the Switch:
– Ensure that both your X Rocker and Switch are powered on. – Check all cables and connections to make sure they are securely plugged in. – Make sure the Switch and X Rocker are on the same Wi-Fi network. – Disable any VPN or Firewall settings that might be interfering with the connection. – Try restarting both your X Rocker and the Switch. – Check for any software updates for your X Rocker and Switch, and install them if necessary. – If experiencing connection issues during gameplay, try reducing the number of devices connected to your Wi-Fi network to improve stability. – Consider using a wired connection between your X Rocker and the Switch for the most reliable connection. – If all else fails, consult the user manual or contact customer support for further assistance.

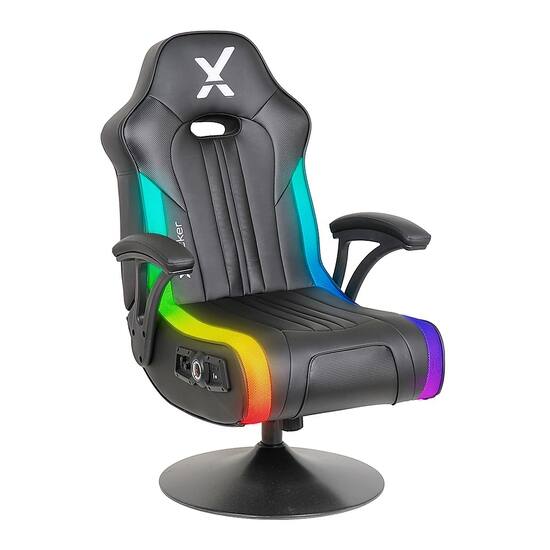
Credit: www.cweup.com
Exploring Advanced Features
Customize X Rocker settings to enhance games. Utilize extra accessories for better gameplay.
Credit: www.bestbuy.com
Conclusion
To sum up, connecting your X Rocker to Switch is a simple process with great benefits. By following these steps and tips, you can enhance your gaming experience and enjoy immersive sound quality. Stay tuned for more tech tips and troubleshooting guides.
Happy gaming!