
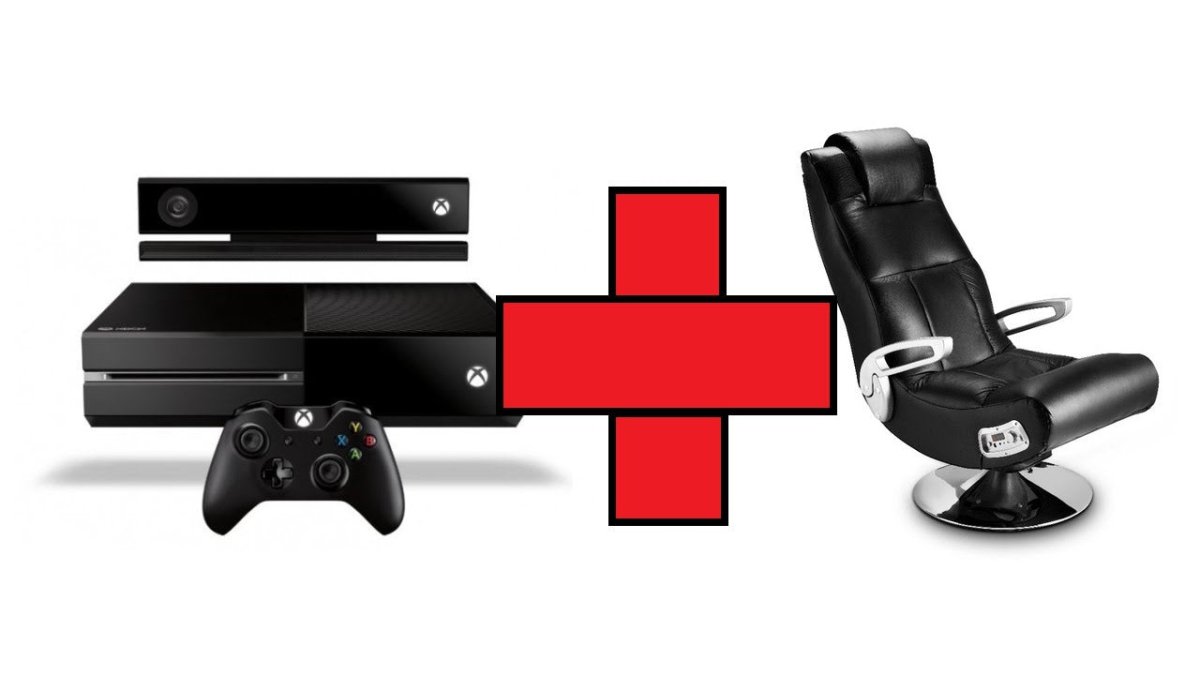
To connect X Rocker to Xbox Series S, use an HDMI cable and connect the console to the gaming chair’s control panel. For gamers looking to enhance their gaming experience, connecting an X Rocker gaming chair to an Xbox Series S can provide immersive sound and vibration feedback while playing their favorite games.
By following the simple steps to connect the chair to the console, gamers can enjoy a more engaging and enjoyable gaming session. In this guide, we will walk you through the process of connecting your X Rocker to your Xbox Series S using an HDMI cable, enabling you to fully utilize the features of your gaming chair while playing on your console.

Credit: keys.direct
Setting Up Your X Rocker
Gather all necessary cables before setting up your X Rocker. Position the chair in an optimal gaming spot. Connect the X Rocker to Xbox Series S following the instructions provided for seamless integration. Enjoy immersive gaming experience with the perfect setup.
Credit: keys.direct
Connecting X Rocker To Xbox Series S
To connect X Rocker to Xbox Series S, first, identify the compatible ports on your Xbox. Locate the HDMI port on the Xbox and the audio output ports. Next, connect the HDMI cable from the console to the X Rocker transmitter box. Ensure the audio cables are correctly plugged into the respective ports. Power on both the Xbox and X Rocker to establish a connection. Adjust the settings on your Xbox to output sound through the HDMI port for a seamless gaming experience.
Adjusting Settings For Enhanced Experience
When connecting your X Rocker to your Xbox Series S, adjusting the audio settings is key. Ensure optimal audio output by fine-tuning the X Rocker’s audio features. Access the audio settings on your Xbox Series S and customize them to suit your preferences for an enhanced gaming experience.
Testing And Troubleshooting
Testing Audio Output:
To ensure that you have connected your X Rocker to the Xbox Series S correctly, you need to test the audio output. Turn on your Xbox and make sure it is connected to your X Rocker. Adjust the volume on both devices to a comfortable level. Play a game or a movie and listen for the audio coming through the X Rocker speakers. If you can hear the sound clearly without any issues, then your audio output is working fine. However, if you encounter any problems, consider the troubleshooting steps below to resolve the common connectivity issues.
Troubleshooting Common Connectivity Issues:
1. Check the connections: Ensure that all the cables are securely plugged in and that there are no loose connections.
2. Update firmware: Visit the manufacturer’s website and look for any firmware updates for your X Rocker. Install them if available to fix any compatibility issues.
3. Reset settings: Try resetting the audio settings on your Xbox Series S to default. Go to the settings menu, navigate to audio, and choose the reset option.
4. Try different cables: If possible, try using different cables to connect your X Rocker to the Xbox Series S. Sometimes faulty cables can cause connectivity problems.
5. Contact customer support: If none of the above steps resolve the issue, reach out to the X Rocker or Xbox support team for further assistance.

Credit: www.ebay.com
Conclusion
To sum up, connecting your X Rocker to Xbox Series S is a straightforward process that enhances your gaming experience. By following the simple steps and using the right cables, you can enjoy immersive sound and comfort while playing your favorite games.
With this setup, you’re all set for uninterrupted gaming sessions with unparalleled audio and ergonomics.


