To access the Admin account in Windows 11, click on the Start button and select “Settings.” Then, go to “Accounts” and click on “Family & other users.”
From there, click “Add account” and choose “Administrator” to create the Admin account. Are you having trouble accessing the Admin account on your Windows 11 system? Understanding how to navigate through the settings can make a world of difference. We will discuss step-by-step instructions on accessing the Admin account in Windows 11.
By following these instructions, you will be able to create or access the Admin account without any hassle. Whether you need to perform system changes or install new software, having access to the Admin account is crucial. Let’s dive into the process and get your Admin account up and running.
Checking User Account Control Settings
When it comes to accessing the admin account on Windows 11, it’s important to check the User Account Control settings to ensure you have the necessary privileges. Verifying admin rights and navigating to the User Account Control settings are crucial steps in this process.
Navigating To User Account Control Settings
First, let’s navigate to the User Account Control settings. Here’s how to do it:
- Click on the Start button in the bottom left corner of the screen.
- Next, type “User Account Control Settings” in the search bar and press Enter.
- From the search results, click on “User Account Control Settings” to open the control panel.
Verifying Admin Rights
Once you’ve accessed the User Account Control settings, you’ll need to verify your admin rights. Follow these steps:
- Scroll down to the “Administrator” section in the User Account Control settings.
- Ensure that the slider is set to the highest level, indicating that you have admin rights.
- If the slider is not set to the highest level, you may need to make changes to your account settings to grant yourself admin privileges.

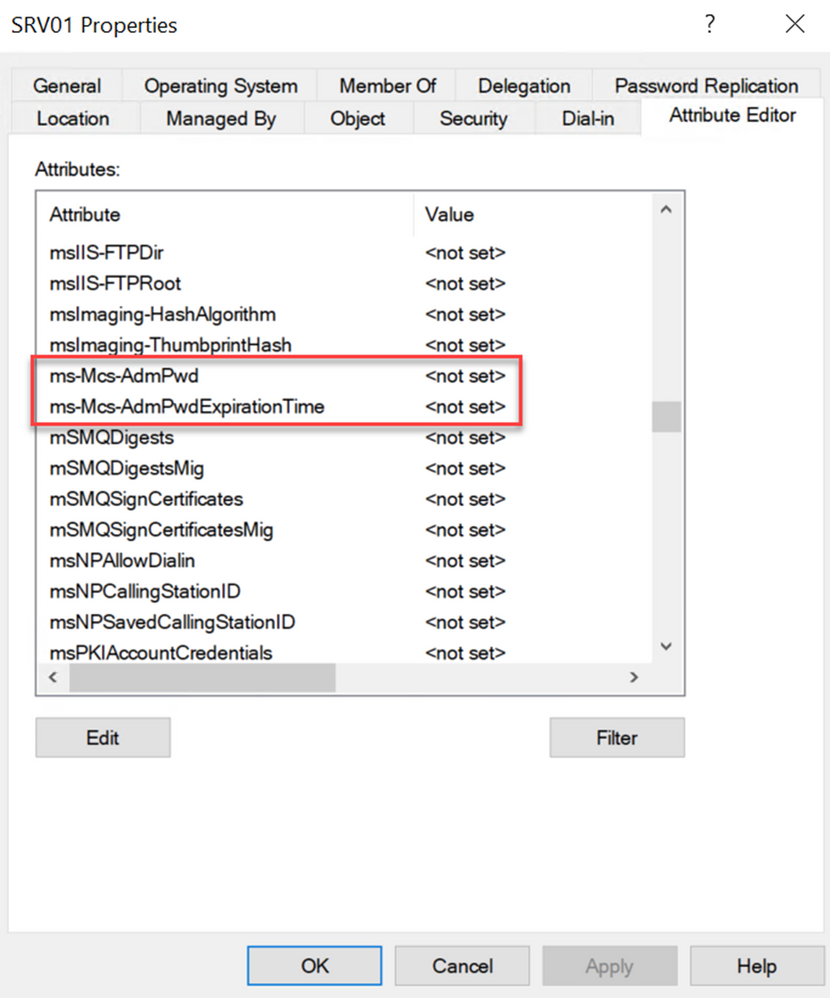
Credit: techcommunity.microsoft.com
Changing Account Type To Admin
Accessing the admin account in Windows 11 allows you to make system-wide changes and install software without restrictions. Follow the steps below to change an account type to admin.
Accessing Account Settings
To access account settings, click on the Start button, then select Settings. In the Settings window, choose Accounts and then click on Family & other users.
Switching To Admin Account Type
To switch to an admin account type, locate the user account you want to change, then select Change account type. In the ensuing pop-up window, select Administrator from the drop-down menu and click OK.
Utilizing Command Prompt
Opening Command Prompt
Access Command Prompt by searching in Windows and right-clicking to Run as Administrator.
Running Commands For Admin Access
- Type net user administrator /active:yes to activate the hidden admin account.
- Enter net user /add and the username for a new admin account.
- Set a new password using net user %username% ( represents the password).

Credit: learn.microsoft.com
Creating A New Admin Account
Accessing the admin account in Windows 11 is essential for managing system settings and performing administrative tasks. However, it is crucial to have at least one administrator account to ensure smooth operation and security. This article will guide you through the process of creating a new admin account in Windows 11, enabling you to have full control over your system.
Navigating To Account Settings
Before you can add a new administrator account, you need to navigate to the Windows 11 Account Settings. To do this, follow these simple steps:
- Click on the Start menu in the bottom-left corner of your screen.
- Select the Settings icon, represented by a gear-shaped icon.
- In the Settings window, select the “Accounts” option.
Adding A New Administrator Account
Once you have reached the Accounts section in the Settings, you can proceed to add a new administrator account. Here is a step-by-step guide:
- In the Accounts window, click on the “Family & other users” tab from the left-hand side menu.
- Under the section labeled “Other users,” click on the “Add account” button.
- A new window will appear. Click on the “Sign in without a Microsoft account” link, located at the bottom of the window.
- Next, click on the “Local account” option.
- Fill in the required details for the new administrator account, including the username and password.
- Once you have entered all the necessary information, click on the “Next” button.
- Review the account details and click on the “Finish” button to create the new administrator account.
By following these steps, you can successfully create a new administrator account in Windows 11. This will provide you with the necessary privileges and access to manage system settings, install software, and perform various administrative tasks. Having an additional admin account can also be useful for troubleshooting issues and ensuring the security of your computer. So, take control of your system by creating a new admin account today!
Resetting Admin Password
Resetting the admin password on Windows 11 can be crucial if you have forgotten it or if you need to gain access to the admin account for administrative purposes. In this blog post, we will explore two methods to help you reset the admin password on your Windows 11 computer.
Using Password Reset Disk
If you have previously created a password reset disk for your admin account, this method can be a quick and efficient way to regain access.
- Insert the password reset disk into the computer.
- On the login screen, enter any random password and a “Reset password” link will appear.
- Click on the “Reset password” link to open the Password Reset Wizard.
- Follow the wizard’s instructions to reset the admin password.
Remember to keep your password reset disk in a safe place as it can be a lifesaver in situations like these.
Changing Admin Password In Settings
If you don’t have a password reset disk, you can still reset the admin password using the Settings app in Windows 11.
- Open the Settings app by clicking on the Start button and selecting “Settings”.
- In the Settings app, click on “Accounts” to open the Accounts settings.
- From the left sidebar, select “Sign-in options”.
- Under the “Password” section, click on “Change” to change the admin password.
- Follow the on-screen instructions to reset the admin password.
Using the Settings app is a convenient method to reset your admin password without the need for a password reset disk.
It is important to remember that resetting the admin password will remove all saved passwords and data associated with the account. Therefore, it’s advisable to backup your important files before proceeding with any password reset methods.
Credit: learn.microsoft.com
Enabling Built-in Administrator Account
This section will guide you on enabling the built-in Administrator account in Windows 11 by accessing the Computer Management tool.
Enabling Administrator Account
- Press Windows key + X to open the Power User menu.
- Choose Computer Management from the list.
- Double-click on Local Users and Groups.
- Select Users in the left pane.
- Right-click on Administrator in the middle pane.
- Uncheck the Account is disabled option.
- Click OK to enable the Administrator account.
Conclusion
To sum up, accessing the admin account in Windows 11 is crucial for system management. By following the simple steps outlined in this guide, you can gain control over your PC efficiently. Remember to prioritize security measures to safeguard your device effectively.
Explore, empower, and elevate your Windows experience today!