To map a network drive on Mac permanently, use the Finder sidebar and select “Connect to Server,” then enter the network path. After clicking “Connect,” select the option to add the network drive to your login items.
This will ensure the network drive is automatically connected every time you log in to your Mac. Welcome to the world of seamless network connections on your Mac! Mapping a network drive permanently allows you to access shared folders and files with ease.
By following these simple steps, you can streamline your workflow and have your network drive readily available whenever you need it. Let’s delve into the process of mapping a network drive on your Mac for convenient and efficient access to your network resources.
Credit: en.wikipedia.org
Preparing For Mapping
To map network drive on Mac permanently, ensure network accessibility by gathering required information.
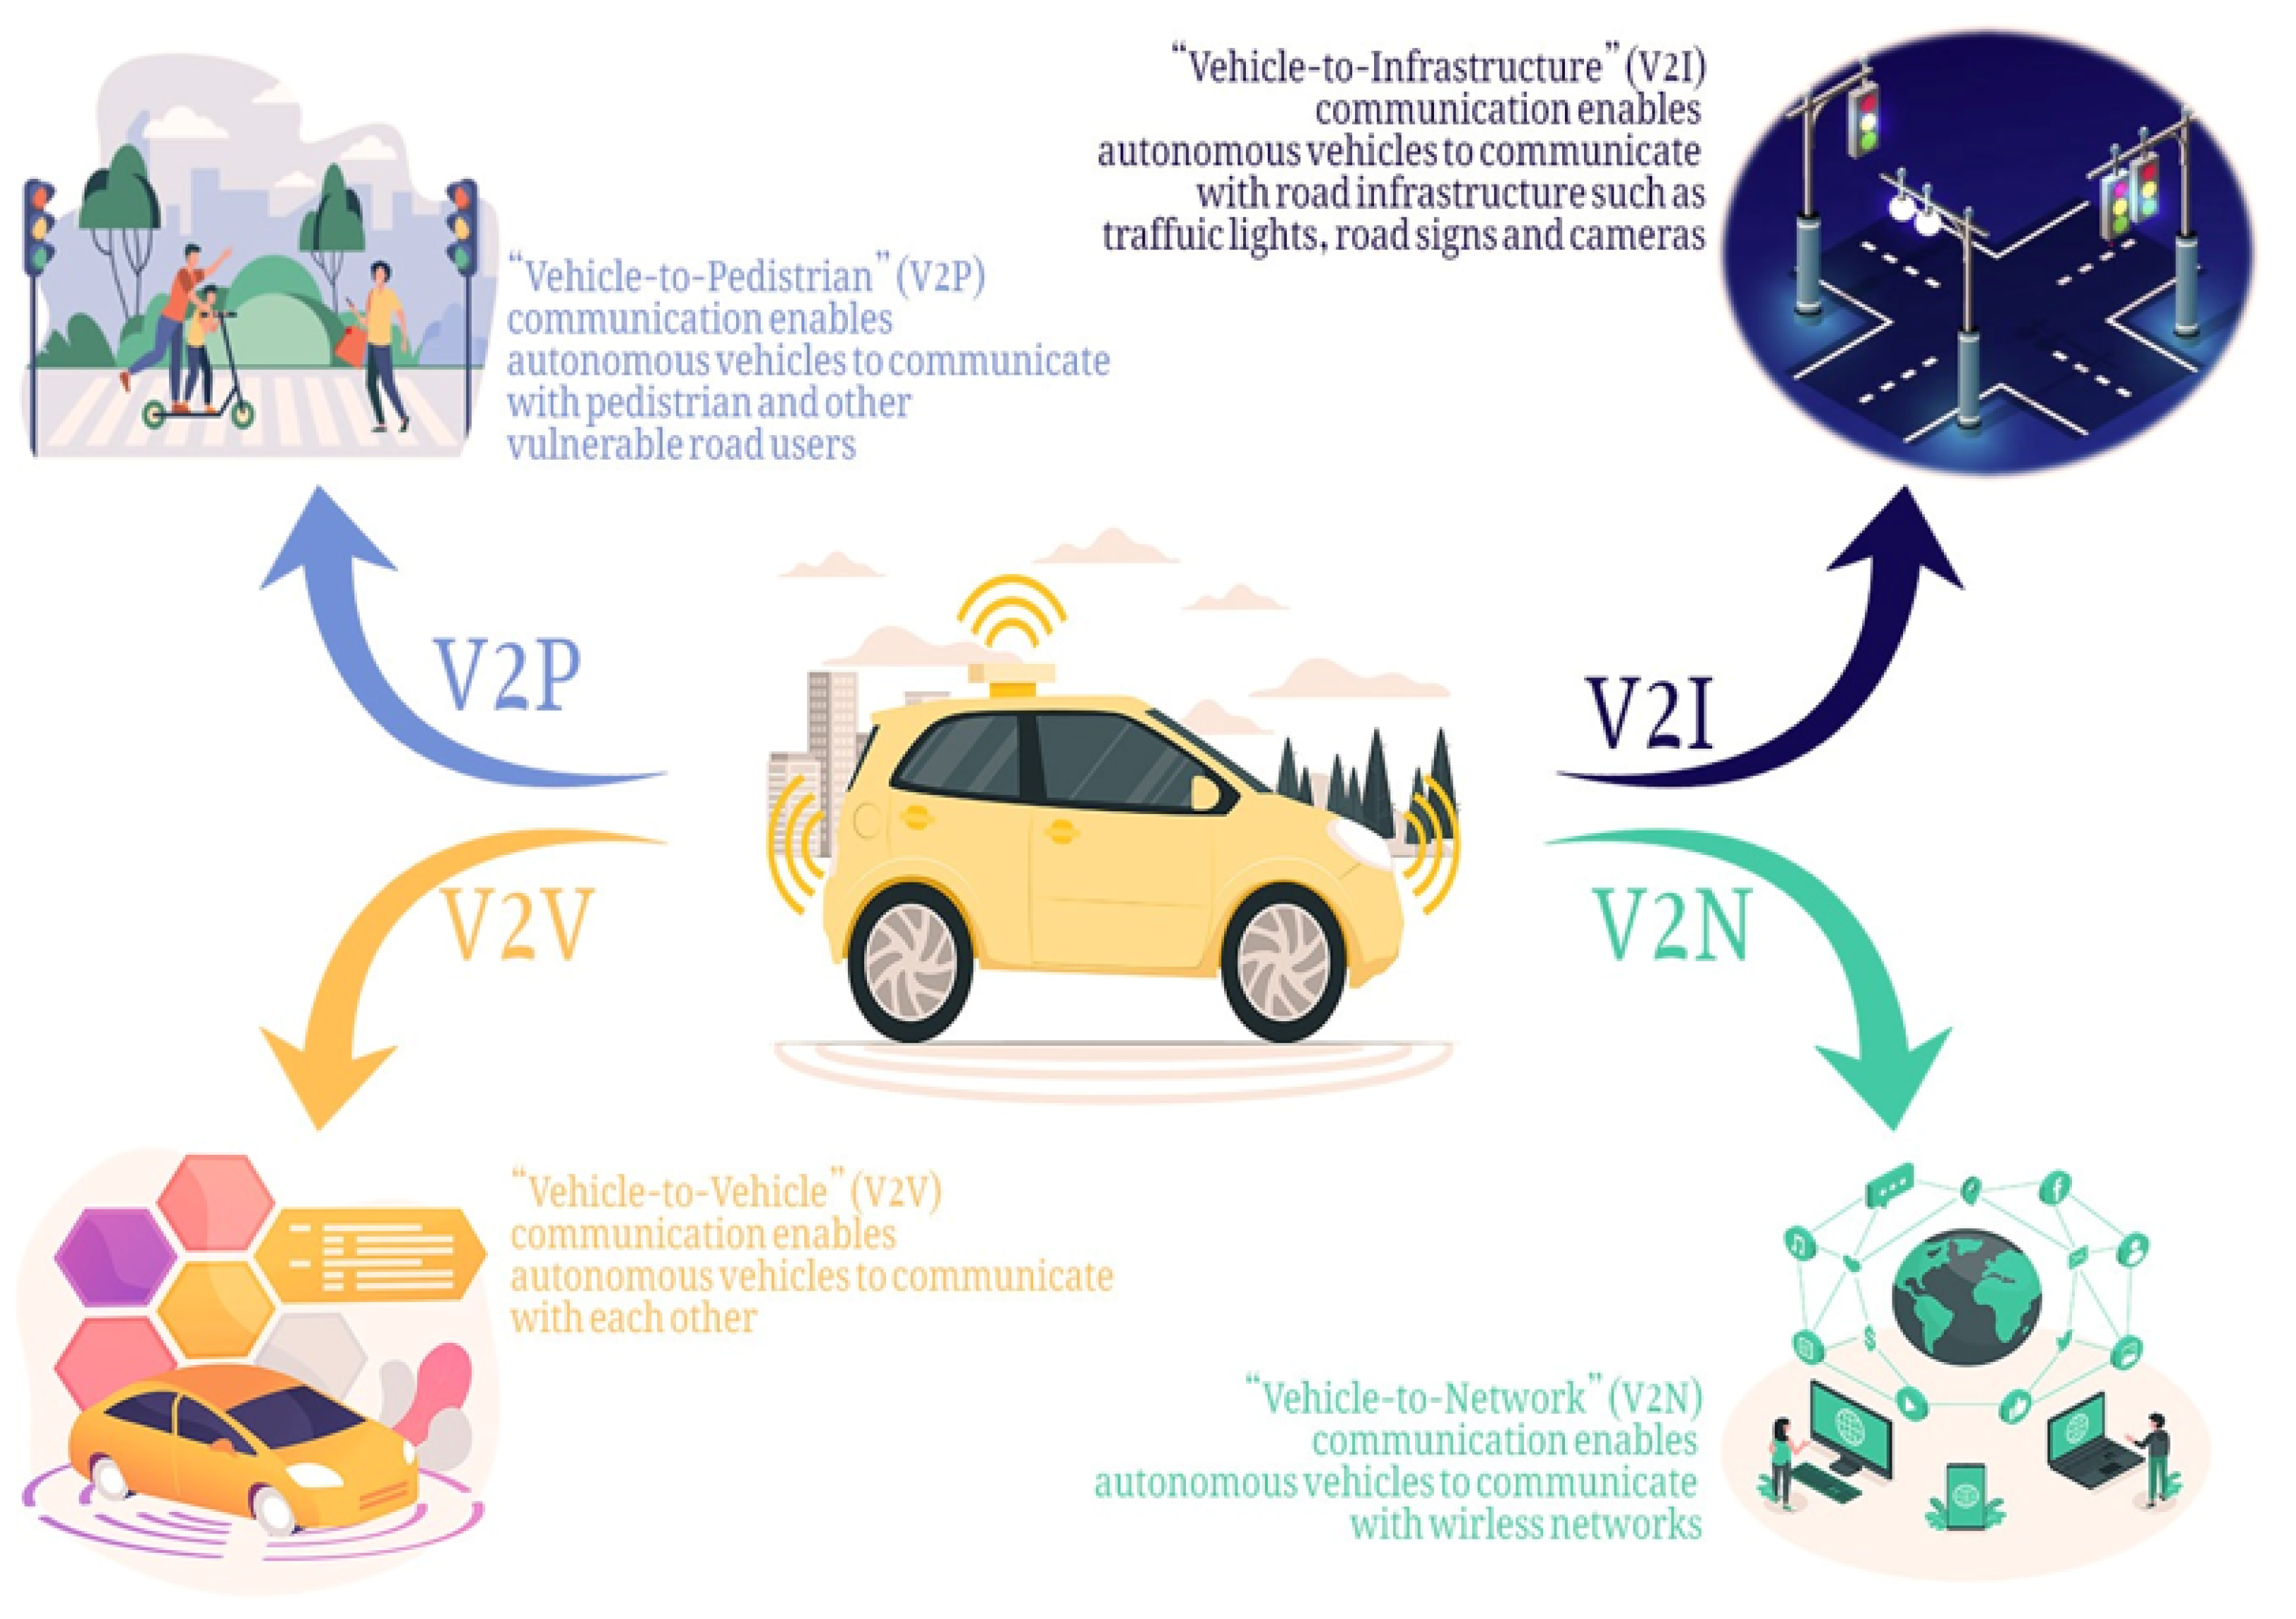
Credit: www.mdpi.com
Mapping Network Drive
| Using Finder to Map Drive: |
| 1. Open Finder and go to the ‘Go’ menu. |
| 2. Select ‘Connect to Server’ and enter the server address. |
| 3. Click ‘Connect’ and enter your login credentials. |
Using Terminal to Map Drive:
1. Open Terminal and use the ‘mount’ command with the network drive path.
2. Enter your username and password when prompted to authenticate.
Automating Mapping
Automating Mapping: One way to permanently map a network drive on Mac is by creating a login item. This can be done using an Automator workflow. The Automator provides a simple way to automate repetitive tasks. By creating a workflow, you can ensure that the network drive is automatically mounted every time you log in to your Mac. This eliminates the need to manually connect to the network drive each time you start your computer.

Credit: www.amazon.com
Managing Mapped Drives
Easily map a network drive on Mac permanently with simple steps for efficient data management. Access files seamlessly and enhance productivity through mapped drives on your Mac system. Effortlessly set up network drive connections for convenient and streamlined file sharing.
Editing Mapped Drives
Mapping network drives on a Mac can greatly enhance your productivity and ease file management. To edit an existing mapped drive, follow these simple steps:
– Go to the “Finder” menu and select “Preferences”.
– In the “General” tab, click on “Connected Servers”.
– You will see a list of your mapped drives. Select the drive you want to edit.
– To change the drive’s name or path, click on the pencil icon next to it.
– Make the necessary changes and click “Connect” to save your edits.
– If you want to remove a mapped drive, select it from the list and click the “-” (minus) button.
By following these straightforward steps, you can easily manage and update your mapped drives on your Mac.
Troubleshooting
Having trouble mapping a network drive on your Mac? Don’t worry, we’ve got you covered! Here are some troubleshooting tips to help you resolve common issues:
- Ensure that you have the correct network address for the drive you want to map. Double-check the spelling and make sure there are no typos.
- Check your internet connection to ensure that you are connected to the network where the drive is located.
- Verify that you have the necessary permissions to access the network drive. Contact your network administrator if you are unsure.
- If you are using a VPN, make sure it is properly configured and connected before attempting to map the network drive.
If you are still experiencing issues, try restarting your Mac and the network drive. Sometimes a simple restart can resolve connectivity problems.
Remember to always refer to your device’s user manual or contact the manufacturer for specific troubleshooting steps if these general tips do not solve your problem.
Best Practices
When mapping a network drive on a Mac permanently, it is crucial to prioritize security considerations. Always ensure that the network drive is encrypted and protected with strong authentication methods. Regularly update the drive’s software to prevent vulnerabilities.
Optimizing drive performance also plays a significant role. Store frequently accessed files on the network drive for quick access. Additionally, consider using a reliable and high-speed network connection for improved performance.
Conclusion
Mapping a network drive on Mac permanently can greatly enhance your workflow and productivity. By following these simple steps, you can ensure easy access to your network files and folders. Make sure to consistently update your mapped network drives for seamless access and collaboration.
Embrace the convenience and efficiency of a permanently mapped network drive on your Mac today.