To install the X Rocker Gaming Chair, start by laying out all the parts and tools included in the box. Assemble the chair according to the instruction manual, connecting the various components securely.
Additionally, make sure to test the chair once assembled to ensure it is functioning properly. Experience comfort and immersive gaming with the X Rocker Gaming Chair. This guide will provide you with step-by-step instructions on how to install the chair in a simple and efficient manner.
The installation process is designed to be straightforward, making it accessible for all users, regardless of prior experience with assembling furniture. By following these instructions, you can quickly set up your X Rocker Gaming Chair and start enjoying its ergonomic design and enhanced gaming experience. Get ready to elevate your gaming setup with this easy-to-follow installation guide for the X Rocker Gaming Chair.
Credit: xrockergaming.com
Pre-installation Preparation
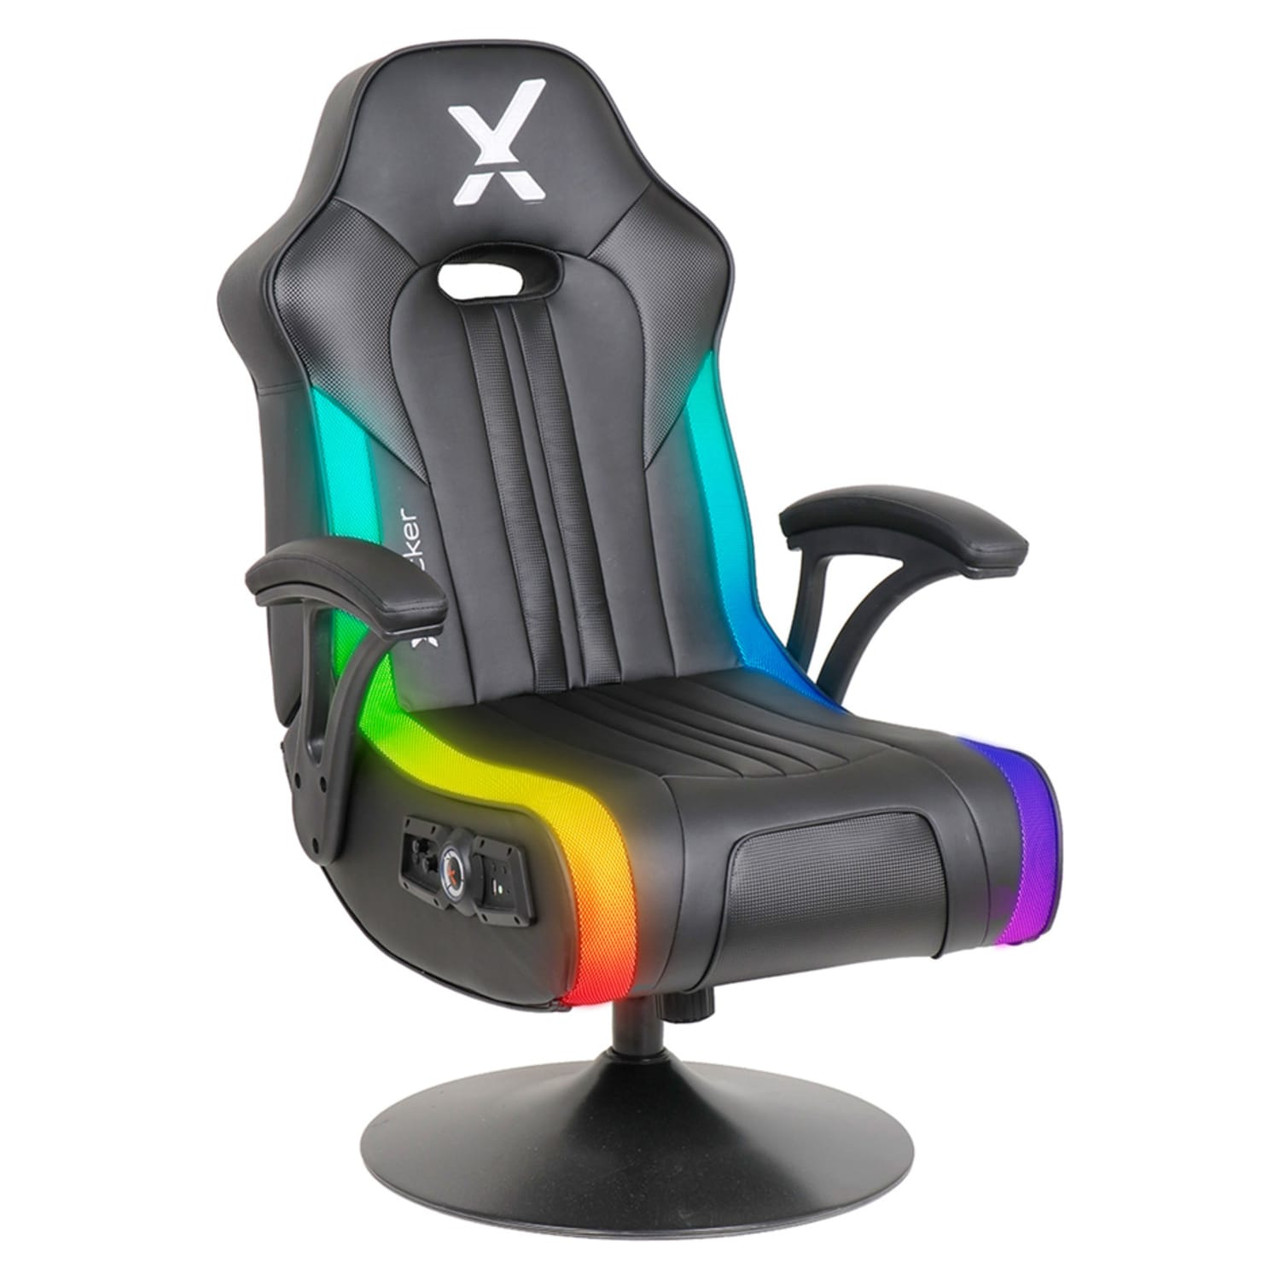
First, carefully unbox the X Rocker Gaming Chair, ensuring all components are included. Check for the chair, pedestal, armrests, power adapter, and any additional accessories. Once confirmed, proceed to assemble the chair according to the provided instructions.
Assembly Process
Installing your X Rocker gaming chair is a straightforward process that can be completed in a few simple steps. First, attach the base to the chair by securely screwing it into place. Next, carefully follow the instructions for fixing the backrest onto the base, ensuring it is stable and properly aligned. Then, connect the wires and cables according to the provided diagrams, making sure all connections are secure. Once these steps are completed, your X Rocker gaming chair will be ready for use!
Connecting To Devices
To pair your X Rocker Gaming Chair with gaming consoles, simply follow the manufacturer’s instructions.
For connecting to PCs or mobile devices, use the provided cables or Bluetooth option.
Testing And Adjustments
When installing the X Rocker Gaming Chair, it is important to perform some testing and adjustments to ensure optimal functionality.
Firstly, test the audio functionality by connecting the chair to your gaming console or audio device. Play some audio content and ensure that sound is coming through the built-in speakers and that the volume can be adjusted to your liking.
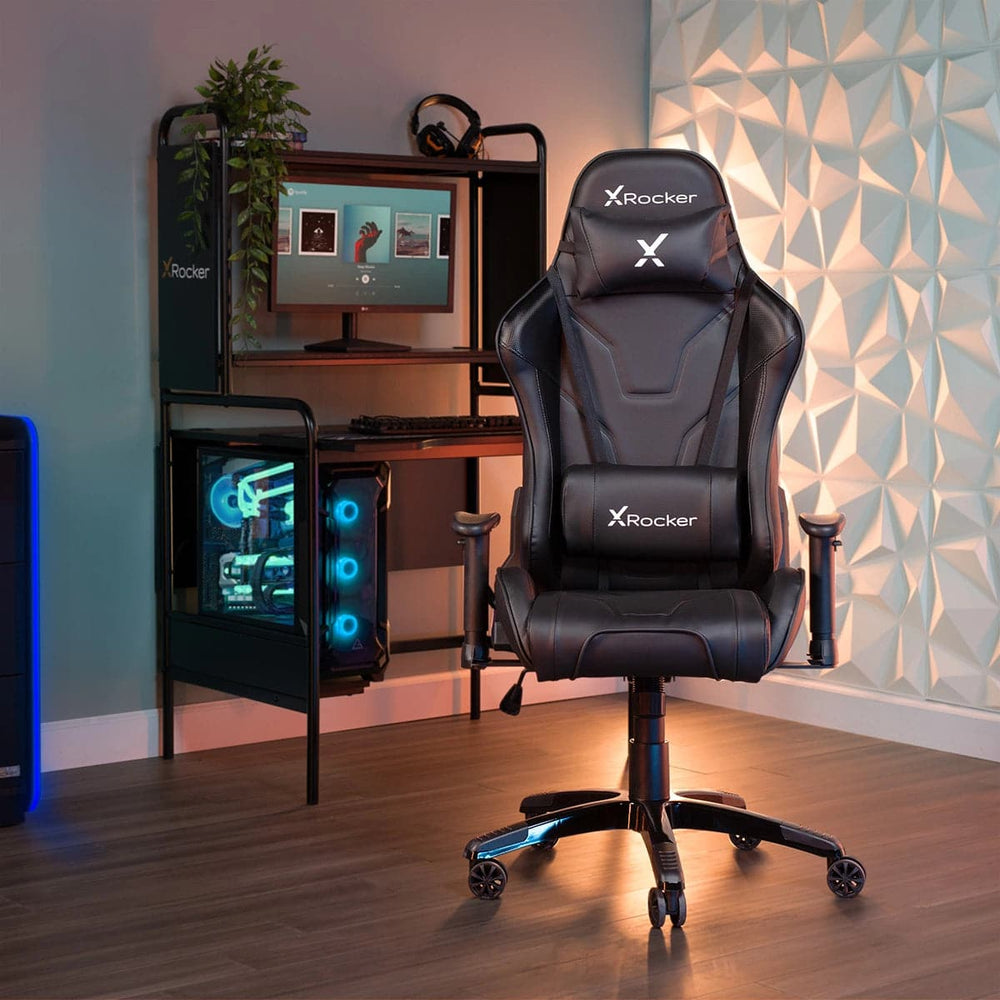
Next, adjust the height settings of the chair to achieve a comfortable seating position. Make sure the chair is at a height where your feet can rest flat on the floor, and your knees are at a 90-degree angle.
Additionally, test the recline settings by tilting the chair backward and forward. Ensure that the recline mechanism works smoothly and that you can find a position that provides support and comfort during extended gaming sessions.
Remember to consult the manufacturer’s instructions for any specific recommendations on testing and adjustments for your particular X Rocker Gaming Chair model. Enjoy your gaming experience in comfort!
Comfort Features
When it comes to installing your X Rocker gaming chair, there are a few comfort features that can enhance your gaming experience. One such feature is the ability to customize your gaming chair with additional options like massage or heating.
Imagine sitting in your gaming chair and feeling a gentle massage on your back while you play your favorite games. With the massage feature, you can enjoy a relaxing experience that helps to relieve any tension or stress.
In addition, some X Rocker gaming chairs also come with a heating feature, which provides warmth and comfort during those long gaming sessions. This can be especially beneficial if you tend to get cold easily.
By exploring these additional comfort features, you can create a personalized gaming experience that meets your specific needs and preferences. Whether you prefer a relaxing massage or the extra warmth of a heating feature, customizing your gaming chair allows you to truly immerse yourself in the game and enjoy hours of comfortable gameplay.
Maintenance Tips
To install your X Rocker Gaming Chair, begin by positioning the base and attaching the casters. Then, attach the gas lift and tilt mechanism before connecting the seat to the base. Finally, secure the armrests and backrest to complete the setup.
Maintenance involves regular checks and cleaning to ensure optimal performance.
Final Thoughts
Installing your X Rocker Gaming Chair can greatly enhance your gaming experience. To fully enjoy your new chair, ensure that all components are properly set up and connected. Optimize your usage by familiarizing yourself with the various adjustable features. It’s important to position the chair in a conducive gaming environment, minimizing distractions and ensuring comfort. Regular maintenance will prolong the chair’s lifespan, so be sure to follow the manufacturer’s guidelines for care and cleaning. By following these recommendations, you can maximize your enjoyment of the X Rocker Gaming Chair and elevate your gaming experience to new heights.
Credit: www.conns.com

Credit: www.amazon.com
Conclusion
To sum up, installing your X Rocker Gaming Chair doesn’t have to be daunting. Follow these simple steps for a seamless setup experience. Enjoy immersive gaming sessions in no time with your new favorite chair! Dive into your games with comfort and style.
Happy gaming!