To set up your X Rocker to your TV, connect the audio cables from the chair’s control panel to the TV’s audio output. Setting up your X Rocker gaming chair to your TV is a straightforward process that will enhance your gaming experience by providing immersive audio.
By connecting the audio cables from the chair’s control panel to the TV’s audio output, you can enjoy high-quality sound while playing your favorite games or watching movies. We will guide you through the necessary steps to set up your X Rocker to your TV, ensuring that you can fully immerse yourself in the gaming world.
So, let’s get started and make the most out of your X Rocker gaming chair.

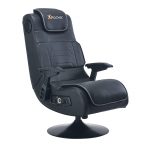
Credit: www.amazon.com
Understanding X Rocker Compatibility
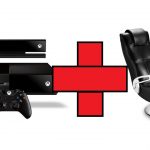
X Rocker Compatibility: X Rocker gaming chairs come in various models and specifications, so it’s important to understand their compatibility with your TV. Each model may have different connectivity options and requirements, so be sure to check the specifications of your X Rocker chair.
TV Requirements for X Rocker Connection: When setting up your X Rocker with your TV, ensure that your TV has the necessary audio output options. Most X Rocker chairs require the TV to have audio output connections such as RCA or optical outputs for seamless connectivity.
Preparing For Setup
Preparing for the setup of an X Rocker to TV requires gathering the necessary tools and cables. To create an ideal gaming setup, ensure you have the following items: an HDMI cable, an audio cable, and a power adapter. The HDMI cable will be used to connect the X Rocker to the TV, providing both video and audio output. It is important to choose an HDMI cable that supports high-definition video and audio transmission. The audio cable is used to connect the X Rocker to the TV’s audio output, ensuring that sound is directed through the gaming chair’s speakers for an immersive experience. The power adapter will be needed to provide power to the X Rocker. Make sure to check the compatibility of the power adapter with your specific X Rocker model. Once you have gathered all the necessary tools and cables, you can proceed to the setup process.
Connecting X Rocker To Tv
Wired Connection Process:
To set up your X Rocker gaming chair with your TV, follow these steps:
- Place the X Rocker near your TV and ensure it is within reach of the power outlet.
- Connect the audio cables from your gaming chair to the corresponding audio output of your TV.
- Use an HDMI cable to connect the HDMI port on your gaming chair to the HDMI port on your TV.
- Switch on your TV and the X Rocker chair to test the connection.
Wireless Connection Considerations:
If you prefer a wireless connection for your X Rocker chair, keep the following in mind:
- Check if your gaming chair supports wireless connectivity.
- Ensure that your TV also supports wireless audio transmission.
- Pair your X Rocker chair with your TV according to the manufacturer’s instructions.
- Test the wireless connection to ensure it works properly.
Optimizing Audio And Video Settings
Adjusting Audio Levels for Enhanced Gaming Experience: To optimize the audio settings for your X Rocker, start by adjusting the volume levels on your TV and the chair. Make sure the audio output on the TV is set to the appropriate level to ensure an immersive gaming experience. Additionally, you can customize the audio settings on the X Rocker itself, adjusting the volume and bass levels to suit your preferences.
Optimizing Video Settings for Clarity: Ensure that your TV’s video settings are optimized for enhanced clarity when using the X Rocker. Adjust the brightness, contrast, and sharpness settings to achieve clear and vibrant visuals. It’s also recommended to set the TV to game mode, if available, to minimize input lag for a seamless gaming experience.
Troubleshooting Common Connectivity Issues
To set up an X Rocker to a TV, troubleshoot any connectivity issues by ensuring all cables are securely connected, the TV recognizes the device, and the correct input source is selected. Adjust audio and video settings to optimize the gaming experience.
Utilize the provided user manual for detailed instructions.
| Identifying Audio or Video Problems | Resolving Input or Output Connection Errors |
| Check if audio cables are securely plugged in. | Ensure HDMI or AV cables are connected properly. |
| Adjust volume settings on both X Rocker and TV. | Try switching input sources on the TV. |
| Test different audio or video sources for troubleshooting. | Restart the devices and check for updates. |
Credit: xrockeruk.com
Advanced Setup Techniques For Enhanced Gameplay
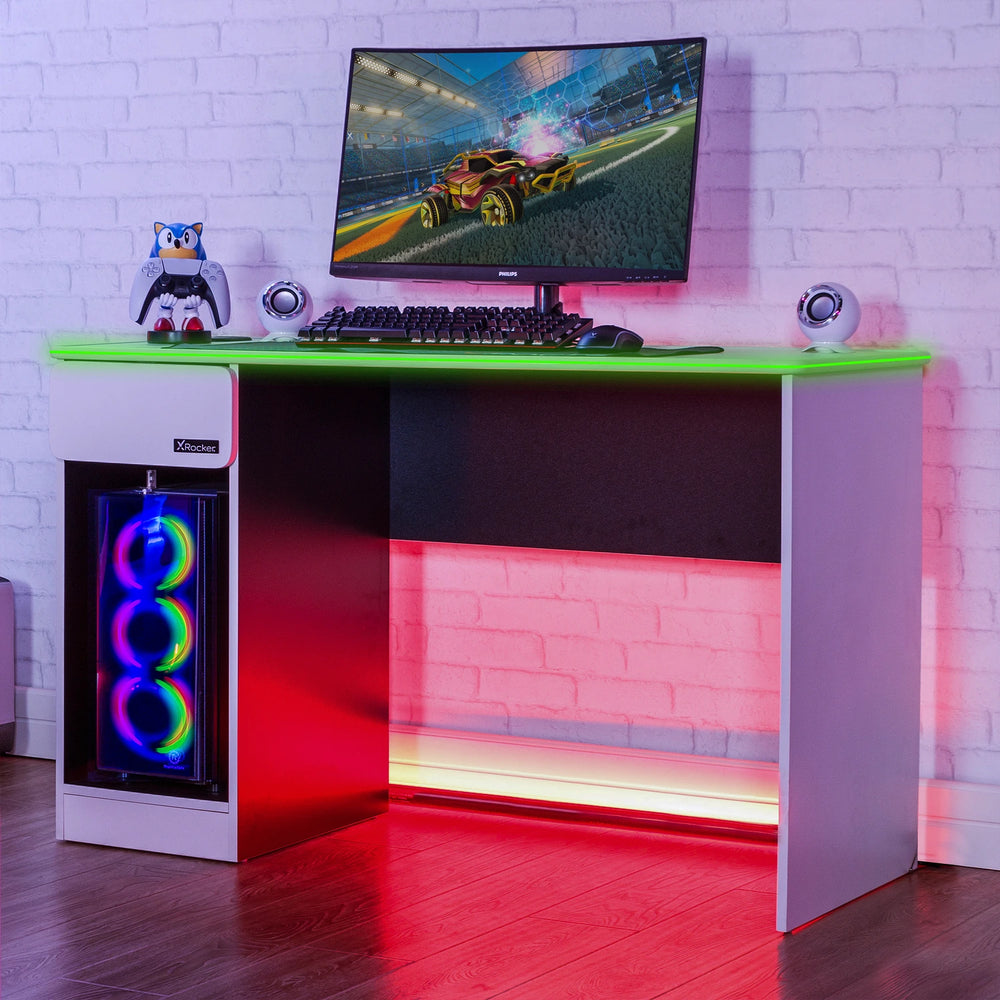
Looking to enhance your gaming experience with the ultimate setup? Setting up your X Rocker to TV can take your gameplay to the next level. To fully enjoy immersive sound and crystal-clear audio, consider advanced setup techniques such as integrating surround sound systems and utilizing multi-device connectivity features.
When it comes to integrating surround sound systems, ensure that your X Rocker is compatible with the surround sound equipment you have. Connect the audio output from your TV to the audio input of your surround sound system to enjoy a more encompassing gaming experience.
To make the most of the multi-device connectivity features, connect your X Rocker to multiple devices simultaneously. This allows you to switch between gaming consoles, streaming devices, or even your smartphone, giving you the flexibility to enjoy different types of content on the big screen.
By optimizing your setup and utilizing these techniques, you can create an immersive gaming environment that will take your gameplay to new heights.
Final Tips And Recommendations
When setting up your X Rocker to your TV, it’s essential to maintain the connections and explore additional accessories to enhance your gaming experience.
Maintaining the connections between your X Rocker and TV ensures uninterrupted gameplay. Ensure all cables are securely plugged in and regularly check for any loose connections. Keep the wires untangled and organized to avoid any tripping hazards or accidental disconnections. Clean the connections and ports regularly to prevent any dust or debris buildup that could affect the audio and video quality.
Now that your X Rocker and TV are set up, consider exploring additional accessories to take your gaming setup to the next level. Invest in a gaming headset for immersive audio and to communicate with other players during multiplayer games. Consider a gaming controller for precise control and enhanced gameplay.
Remember to regularly update and optimize your console or PC settings to ensure optimal compatibility and performance with your X Rocker and TV setup. With these final tips and recommendations, you’re ready to dive into a captivating gaming experience.
Credit: xrockeruk.com
Conclusion
Setting up your X Rocker to your TV can greatly enhance your gaming experience. With the right connections and configurations, you can enjoy immersive sound and heightened gaming performance. Follow the steps outlined in this guide and elevate your gaming setup to a whole new level.
Get ready to game like never before!